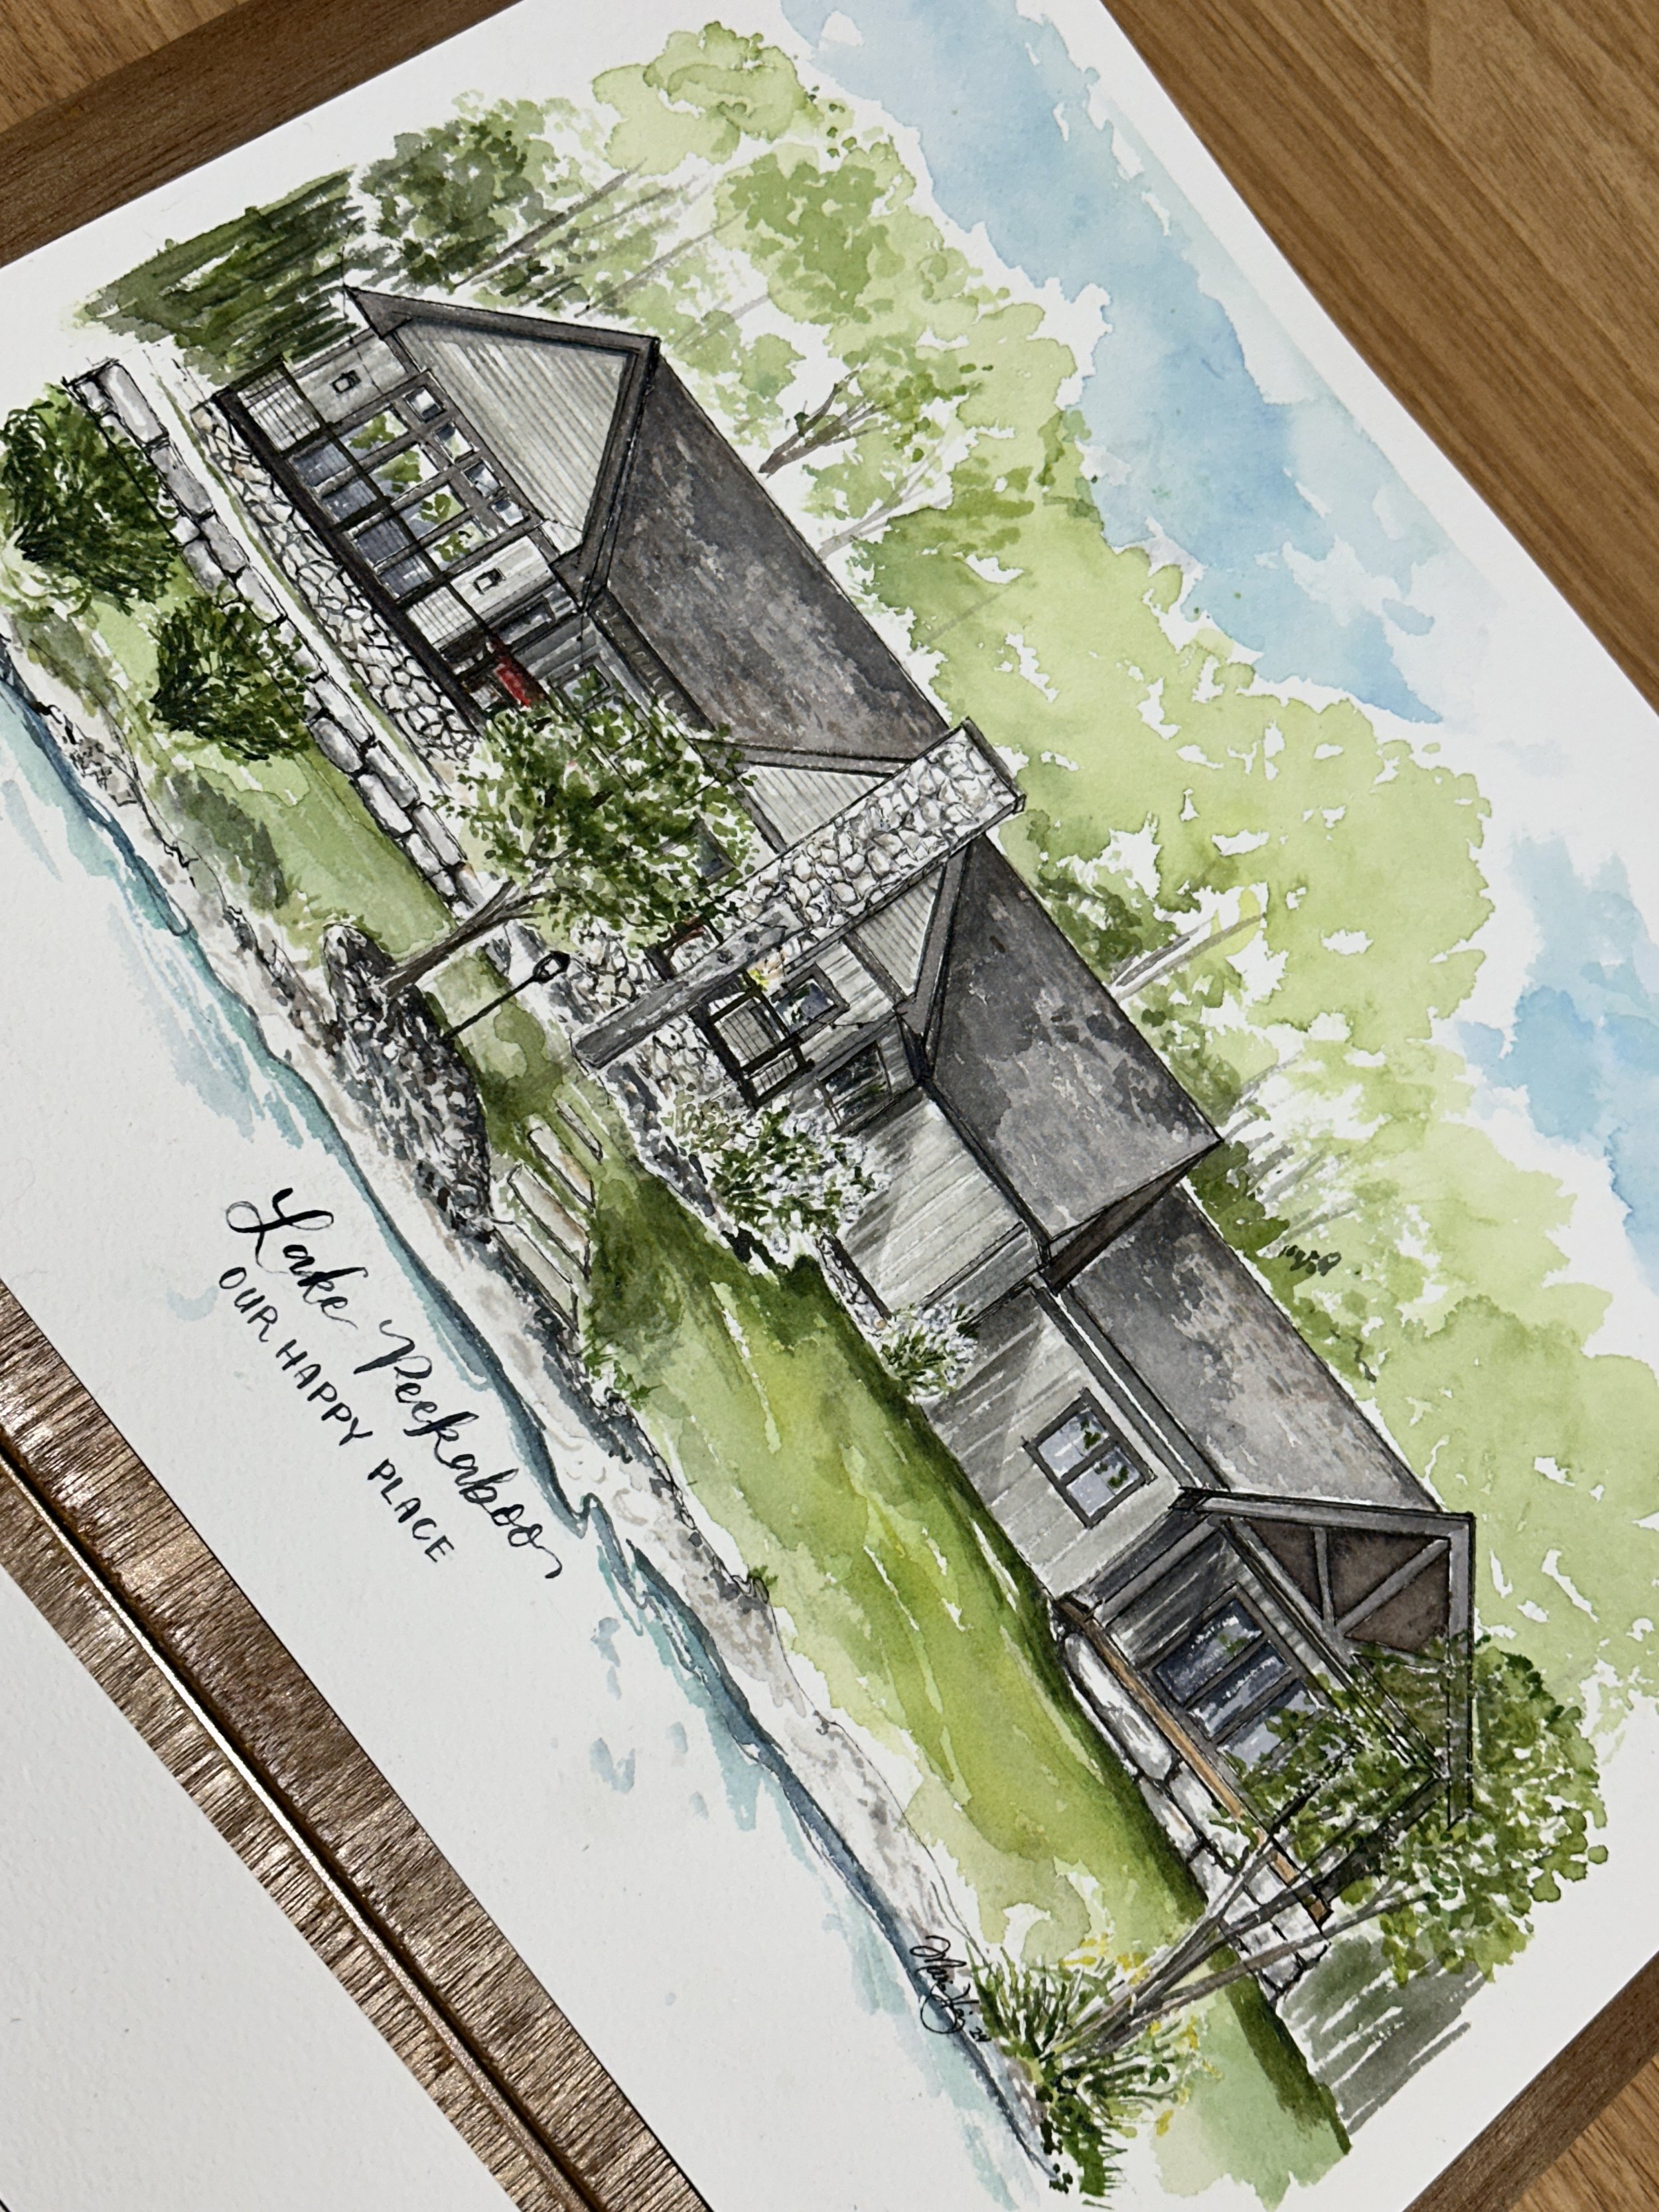
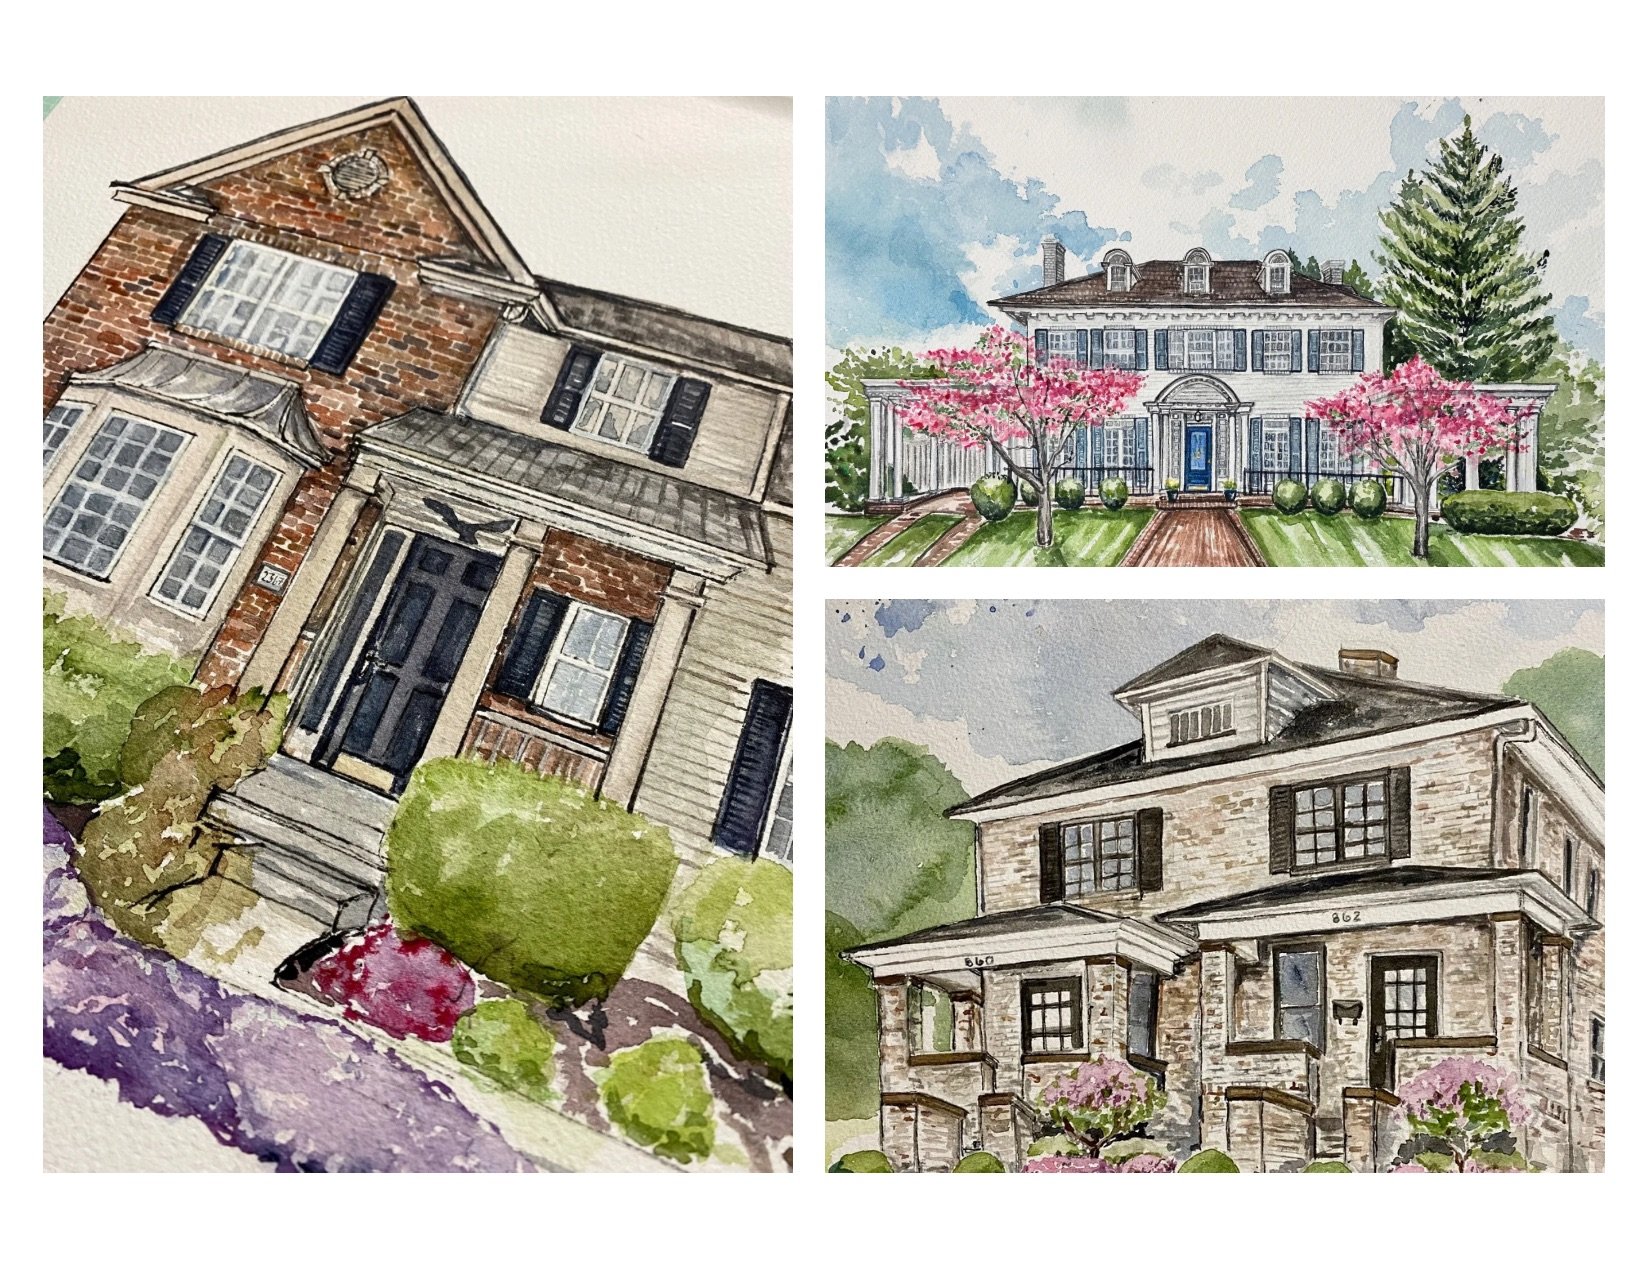
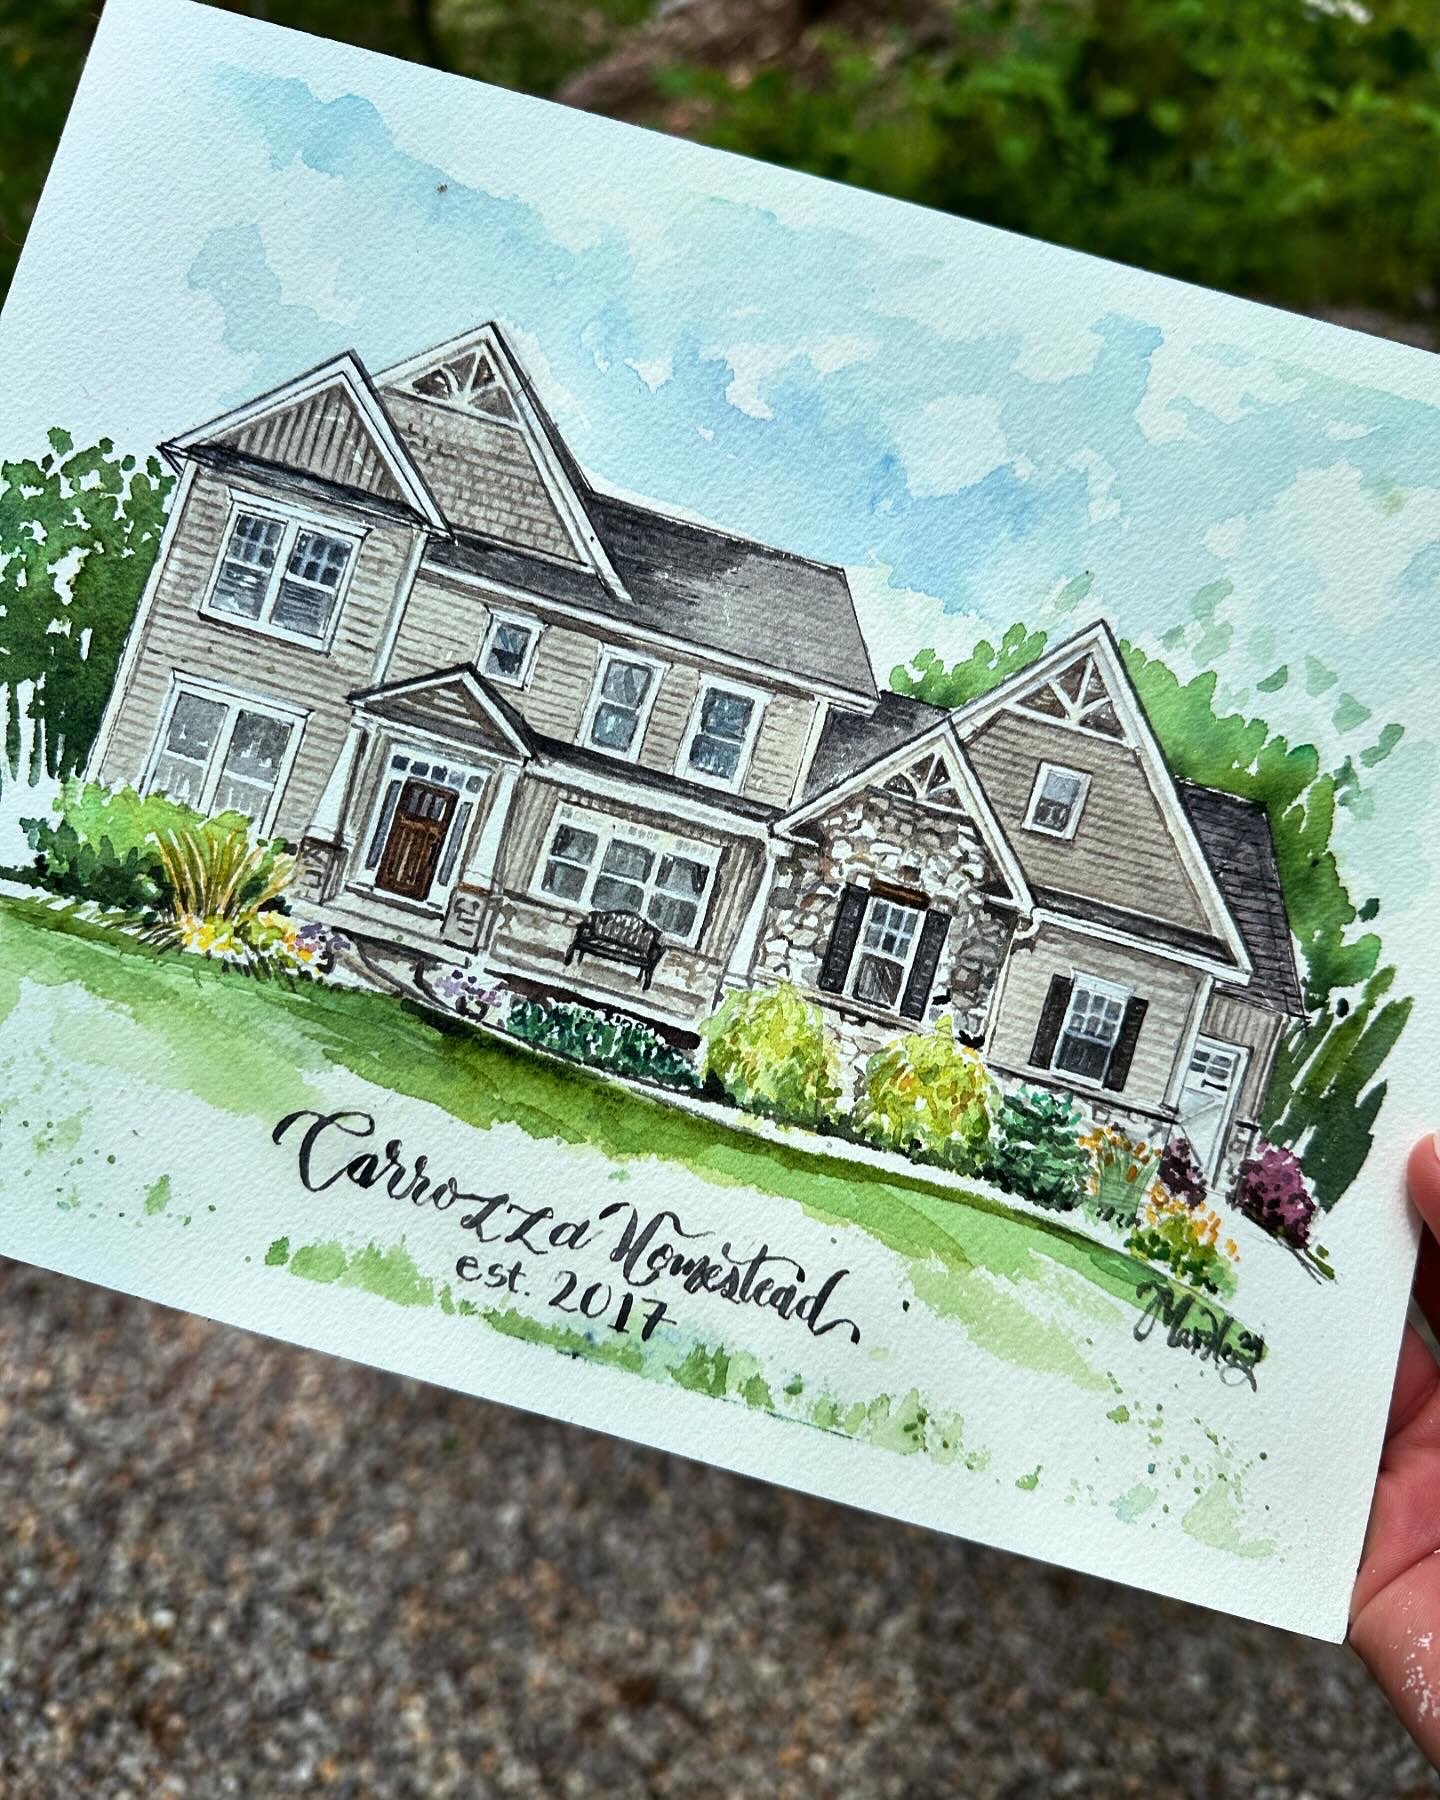
Have you ever wondered what is involved in the creation of a bespoke painting? I often get asked by potential clients what is involved in my creative process behind a custom watercolor portrait, so I thought I’d dedicate a permanent space on my website for just that information! Here’s a look into what usually is a 2-3 week process behind each house portrait I create in my studio.
A note: First things first, upon your approval of the quote, I’ll send you an invoice via Square for secure payment of a 50% deposit. This gets you added to my commission calendar, but the remaining balance will not be due until the time of shipment.
Here are the seven steps that happen next….
THE SKETCH:
I get out my favorite Blackwing pencil, Winsor & Newton fineliners, and trusty architectural triangle to get started with your sketch. Based on your photo(s), I will create a sketch on trace paper to get the composition just right. Usually, a straight-on view is best, but at times, the style of a home necessitates a unique perspective to embody its true character. My background in interior design comes in handy with the perspective drawing in those situations! This process is usually completed within a week after the deposit is made, depending on my current workload.
CLIENT APPROVAL #1
After I complete the sketch, I will email a photo to you for you to approve.
BASE DRAWING
Next, I move on to the base drawing for the painting using waterproof artist fine line markers. It’s still rough at this point, but it starts coming to life, and I start to get super excited to start applying paint. I often send clients a photo during this stage as well to keep them informed throughout the process.
PAINTING
Now, here’s where the magic begins and the painting really starts to come together! I use professional-grade tube watercolors.. This allows for vibrant colors and the best archival performance. In case you were wondering, my favorite brands are Winsor & Newton, Holbein, and Daniel Smith. Watercolor paint dries quickly, so the painting process usually takes a few days, depending on my current workload.
FINAL CLIENT APPROVAL
Once I feel the painting is finished, I will send you a photo to approve. Usually, no changes are requested at this stage, but if you do have any concerns or questions, I will address them as best I can.
FINISHING SPRAY
After your approval, I’ll spray a matte finish clear coat over the paper. This helps add an extra layer of UV protection. This finish also tends to make the colors pop just a little bit more! The fixative has to dry for several hours before shipping. This coating is quite stinky, like a paint varnish, at first (I always do this step outdoors), but the odor wears off after a couple of days.
SHIPMENT
All that love and care goes into how I ship your artwork as well. The painting is placed on chipboard backing, with a cover of white tissue paper inside a plastic bag, which is then placed inside a rigid mailer… All to ensure your precious painting has the safest journey possible to your doorstep! Now all that’s left is for you to enjoy your fine art for decades to come!


